


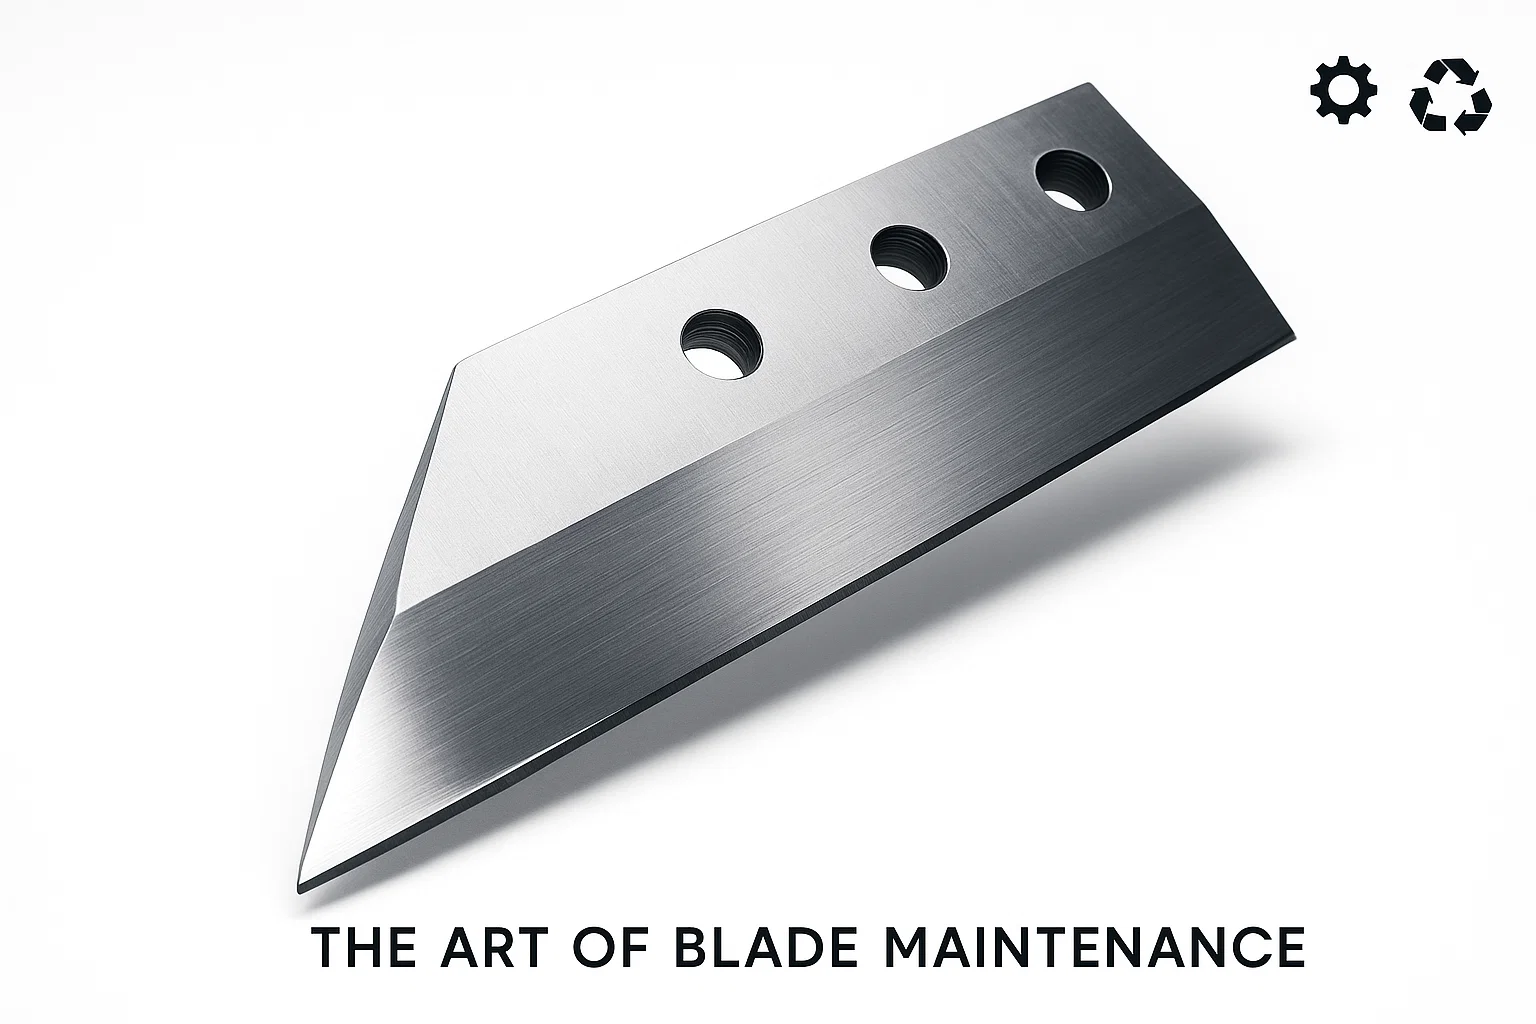
In plastic recycling operations, the granulator (or plastic crusher) is the central workhorse. It tirelessly breaks down bulky industrial and post-consumer plastics into uniform, reusable flakes known as regrind. But the operational efficiency, regrind purity, and energy consumption of this critical machine depend entirely on one component: its cutting knives. Sharp, precisely aligned лезвия для гранулятора пластика are the key to minimizing fines, lowering power bills, and protecting your drive train.
This technical guide provides plant managers, maintenance engineers, and recycling operators with practical maintenance protocols, recommended knife clearance tolerances, and precision sharpening best practices. For choosing replacement blades, explore our сменные лезвия для пластикового гранулятора и plastic crusher and granulator blades.

Почему профилактическое обслуживание лезвий не подлежит обсуждению
Dull or improperly adjusted plastic granulator knives cause a severe cascading negative effect across your plant’s operations. Investing time into proactive daily checks and scheduled sharpening yields immediate operational returns:
- Consistent Regrind Quality & Minimal Fines: Sharp knives deliver a true scissor-action shear cut, producing clean flakes with minimal plastic dust and fines. Dull blades hammer, stretch, and shatter polymers, creating excessive fines that melt prematurely or burn in downstream extrusion lines.
- Substantial Energy Savings: When blades dull, motor load surges drastically. Amperage draw can rise by 20% to 35% to push identical tonnage through the cutting chamber, substantially driving up monthly electricity expenses.
- Longer Component & Machine Lifespan: Blunted cutting edges generate extreme shock loads that transmit directly into rotor bearings, drive belts, shaft keys, and motor mounts. Premature bearing failure and fatigue cracking often trace directly back to operating with dull knives.
- Higher Throughput & Reduced Heat Buildup: Sharp knives bite and shear feedstock instantaneously, preventing polymer recirculation and friction-induced heat that softens polymers into gummy melt buildup on the rotor.
Granulator Blade Failure Modes & Troubleshooting
Understanding the exact symptoms of blade wear helps maintenance teams take targeted corrective action before chamber or rotor damage occurs:
| Observed Symptom | Underlying Root Cause | Recommended Corrective Action |
|---|---|---|
| High motor current (amperage spike) | Dull cutting edges, compacted fines, or over-tight blade clearance | Inspect cutting edge sharpness; measure clearance gap; check chamber for melted buildup |
| Excessive dust, stringy regrind, or long tails | Rotor-to-stator blade gap too wide, or rounded cutting radius | Regrind rotor and bed knives; reset gap with feeler gauge to manufacturer specifications |
| Chipped corners or nicked cutting edges | Ferrous metal or uncrushable tramp material entry; excessively brittle steel | Check upstream magnetic separators; verify steel heat treatment and impact toughness |
| Longitudinal cracks or thermal fractures | Overheating during dry grinding or excessive bolt tightening torque | Use flood coolant during regrinding; verify torque sequence with calibrated torque wrench |
| Uneven blade wear across the rotor length | Uneven material feeding into hopper, or misaligned bed knife supports | Adjust conveyor or chute feed distribution; inspect knife seat flatness and bed alignment |
| Abnormal vibration or rhythmic clattering | Loose blade fasteners, uneven blade weights across rotor, or blade contact | Stop machine immediately; check rotor balance and retorque all knife bolts |
Swipe horizontally to view the full table.
Developing a Robust Maintenance & Inspection Schedule
Preventive maintenance is always far less costly than unplanned downtime. Implement this structured inspection routine across all granulators:
- Pre-Shift Visual Inspection (Every Shift): Prior to powering on, visually check the hopper and cutting chamber for foreign objects, loose fasteners, or excessive residual buildup.
- Weekly In-Depth Inspection (Every 40–80 Operating Hours): Safely power down, apply Lockout/Tagout (LOTO) protocols, open the cutting chamber, and brush down the rotor. Check all cutting edges for micro-chipping, measure blade clearance with feeler gauges at both ends and the center of each blade, and verify bolt tightness.
- Scheduled Blade Rotation or Sharpening: For double-edged bed knives, rotate to a fresh cutting edge once edge rounding exceeds 0.5 mm. For rotor knives, dismount as matched sets for precision regrinding.
- Fastener Replacement Policy: High-tensile blade bolts (Grade 10.9 or 12.9) endure tremendous dynamic shear stress. Replace blade mounting bolts after 3 to 5 blade changes to prevent fatigue failure.
Recommended Plastic Granulator Blade Clearance (Gap) Standards
The gap between the rotating rotor knives and the stationary bed (stator) knives determines whether plastic is cleanly sheared or violently torn. The ideal clearance depends directly on the polymer type and wall thickness:
| Polymer Material & Form | Typical Material Thickness | Recommended Knife Clearance (Gap) | Typical Cutting Edge Angle |
|---|---|---|---|
| LDPE / LLDPE Film & Thin Bags | 0.02 mm – 0.15 mm | 0.10 mm – 0.20 mm | 50° – 55° (High Razor Shearing) |
| PP Woven Bags, Raffia & FIBC Bags | 0.10 mm – 0.35 mm | 0.15 mm – 0.25 mm | 50° – 55° (Scissor Cut) |
| PET Bottles & Thin Thermoformed Trays | 0.25 mm – 1.50 mm | 0.20 mm – 0.35 mm | 55° – 60° (Balanced Wear & Edge) |
| Rigid HDPE Bottles, Crates & Drums | 1.50 mm – 5.00 mm | 0.30 mm – 0.45 mm | 55° – 60° (Durable Edge) |
| Thick HDPE / PP Pipes, Profiles & Purge | 5.00 mm – 25.0 mm | 0.35 mm – 0.55 mm | 60° – 65° (Heavy Shock Loading) |
| Flexible Rubber & Elastomers (TPE, TPU) | 1.00 mm – 8.00 mm | 0.10 mm – 0.25 mm | 45° – 50° (Scissor Action) |
Swipe horizontally to view the full table.
Искусство заточки лезвий гранулятора пластика
Grinding granulator knives is a high-precision machining task. Improper sharpening can ruin expensive tool steel in minutes:
- Preserve Original Geometry: Every granulator knife is engineered with precise rake and relief angles. Changing the bevel angle during sharpening reduces knife support or increases cutting resistance, degrading cutting efficiency and weakening the edge.
- Continuous Flood Coolant is Crucial: Dry grinding causes rapid localized overheating that draws the temper from cold-work tool steels (like D2 or DC53). Once steel exceeds its tempering temperature (approx. 200°C–250°C), its Rockwell hardness drops permanently, causing the sharpened edge to dull rapidly upon restart.
- Sharpen as Matched Sets: All rotor blades in a set must be ground together to identical dimensions (within ±0.05 mm width/height). Unequal blade grinding introduces rotational imbalance, uneven cutting gaps, and excessive vibration.
- Remove the Grind Burrs: After surface grinding, carefully stone the cutting edge and back face to remove any fine grinding burr (wire edge) that could break off during initial startup.
Choosing the Right Sharpening Equipment
While some shops attempt manual surface grinding on standard toolroom grinders, automated heavy-duty machinery provides vastly superior parallelism, surface finish, and angle consistency. For commercial recycling facilities and regrind plants, an Автоматическая мельница для ножей with an electromagnetic chuck, continuous water cooling, and automated feed control delivers OEM-grade blade precision while drastically reducing labor overhead.
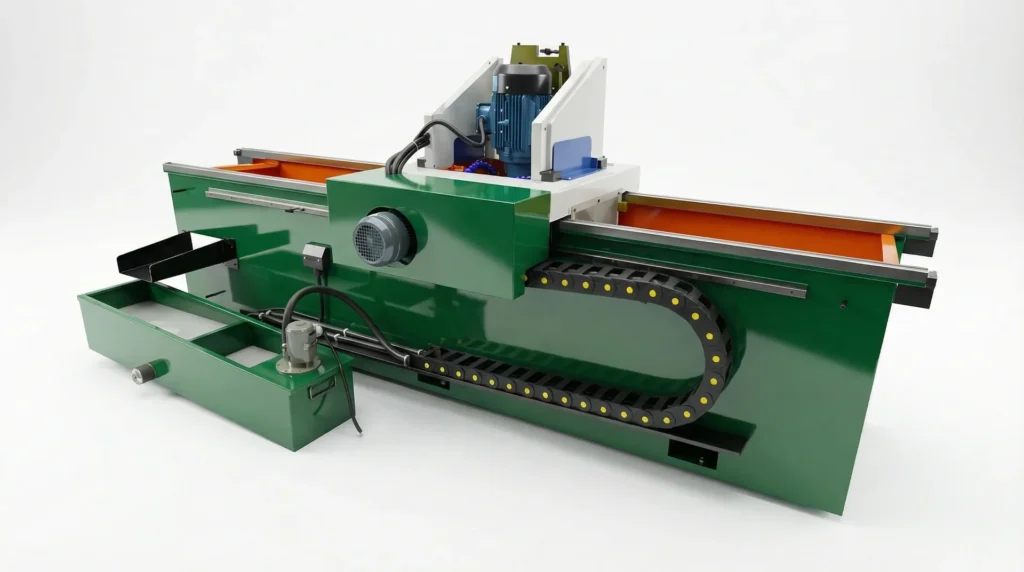
Automated grinders secure knives firmly across their entire length, eliminating deflection and guaranteeing that every knife in the set shares identical height and angle tolerances.
Step-by-Step: Setting the Cutting Gap with a Feeler Gauge
Setting the cutting gap between rotating knives and bed knives is the final and most critical step of granulator reassembly:
- Clean Seats Thoroughly: Ensure knife pockets, backstops, and bed knife seats are scrupulously free of polymer fines, chips, and corrosion. Even a 0.05 mm speck of dirt under a blade seat can cause premature blade contact or severe gap variation.
- Mount Rotor Blades First: Torque rotor knives progressively to the manufacturer’s specified torque using a calibrated torque wrench.
- Position Bed (Stator) Knives: Snug the bed knife retaining bolts lightly so the bed knife can be adjusted using its push-and-pull jack bolts.
- Measure Gap with Feeler Gauges: Slowly rotate the rotor by hand (with machine locked out!). Insert a feeler gauge corresponding to your target clearance (e.g. 0.25 mm) between the rotor knife and bed knife. Check clearance at the left end, center, and right end of each knife.
- Check Full Rotor Revolution: Check every single rotor blade against each bed knife. Because rotor eccentricities and runout can exist, set the clearance based on the tightest point.
- Final Torque Lock: Lock the bed knife adjustment bolts and torque all retaining bolts to full specification. Recheck the gap one last time—clamp torque can shift the bed knife slightly!
For high-capacity primary shredding or multi-shaft shredder knifework, see our shredder blades selection guide and our comprehensive recycling machine blades catalog.
Часто задаваемые вопросы
How often should plastic granulator blades be sharpened?
Sharpening frequency depends on polymer abrasiveness and contamination. Clean polyethylene or polypropylene film knives typically run 150 to 300 operating hours between sharpenings, whereas mineral-filled polymers, glass-reinforced nylon, or dirty post-consumer wash flakes may require sharpening every 40 to 80 operating hours. Track motor amperage and fines percentage to determine the ideal schedule.
What is the ideal clearance gap between granulator rotor and bed knives?
For thin films and woven bags, knife clearance should be set tight between 0.10 mm and 0.20 mm to ensure a clean shear. For rigid containers, bottles, and injection moldings, a gap of 0.25 mm to 0.40 mm is standard. For heavy purges and thick pipe scrap, clearances range from 0.35 mm to 0.55 mm. Always set clearance according to the tightest point on the rotor.
How do I know if a granulator blade has lost its temper during grinding?
Visible blue, brown, or straw-colored discoloration near the cutting edge indicates thermal burn and temper loss. Even without visible discoloration, a dulling edge within hours of restarting is a classic sign of microstructural overheating. Always use abundant synthetic or water-soluble flood coolant during blade sharpening.
Can I replace just one damaged blade in a granulator rotor set?
No. Granulator rotor knives must always be replaced or reground as a complete matched set. Replacing a single knife creates uneven blade projection and weight disparity across the rotor, resulting in severe dynamic imbalance, uneven gap settings, and accelerated bearing wear.
Why do blade mounting bolts loosen during operation?
Bolts loosen due to dirty knife seats (fines compressing under clamp pressure), reused stretched fasteners, incorrect torque, or heavy shock vibration from blunt knives. Always thoroughly scrape knife pockets clean, use high-strength bolts (Grade 10.9 or 12.9), and torque in cross-patterns using a calibrated torque wrench.
What tool steel grade is recommended for plastic granulator knives?
High-carbon, high-chromium D2 (SKD11 / 1.2379) hardened to 58–60 HRC is the industrial standard for clean plastics due to exceptional edge retention. For high-impact or thick-wall applications, modified cold-work steel like DC53 or impact-resistant H13/Cr12MoV provides superior resistance to edge chipping.
Request Replacement Granulator Blades or Technical Consultation
Looking for high-performance replacement rotor and stator knives, or need technical advice on selecting knife steel and sharpening machinery? Contact the Rumtoo engineering team with your granulator brand, model, cutting chamber dimensions, and feedstock specifications for an immediate quotation.
