


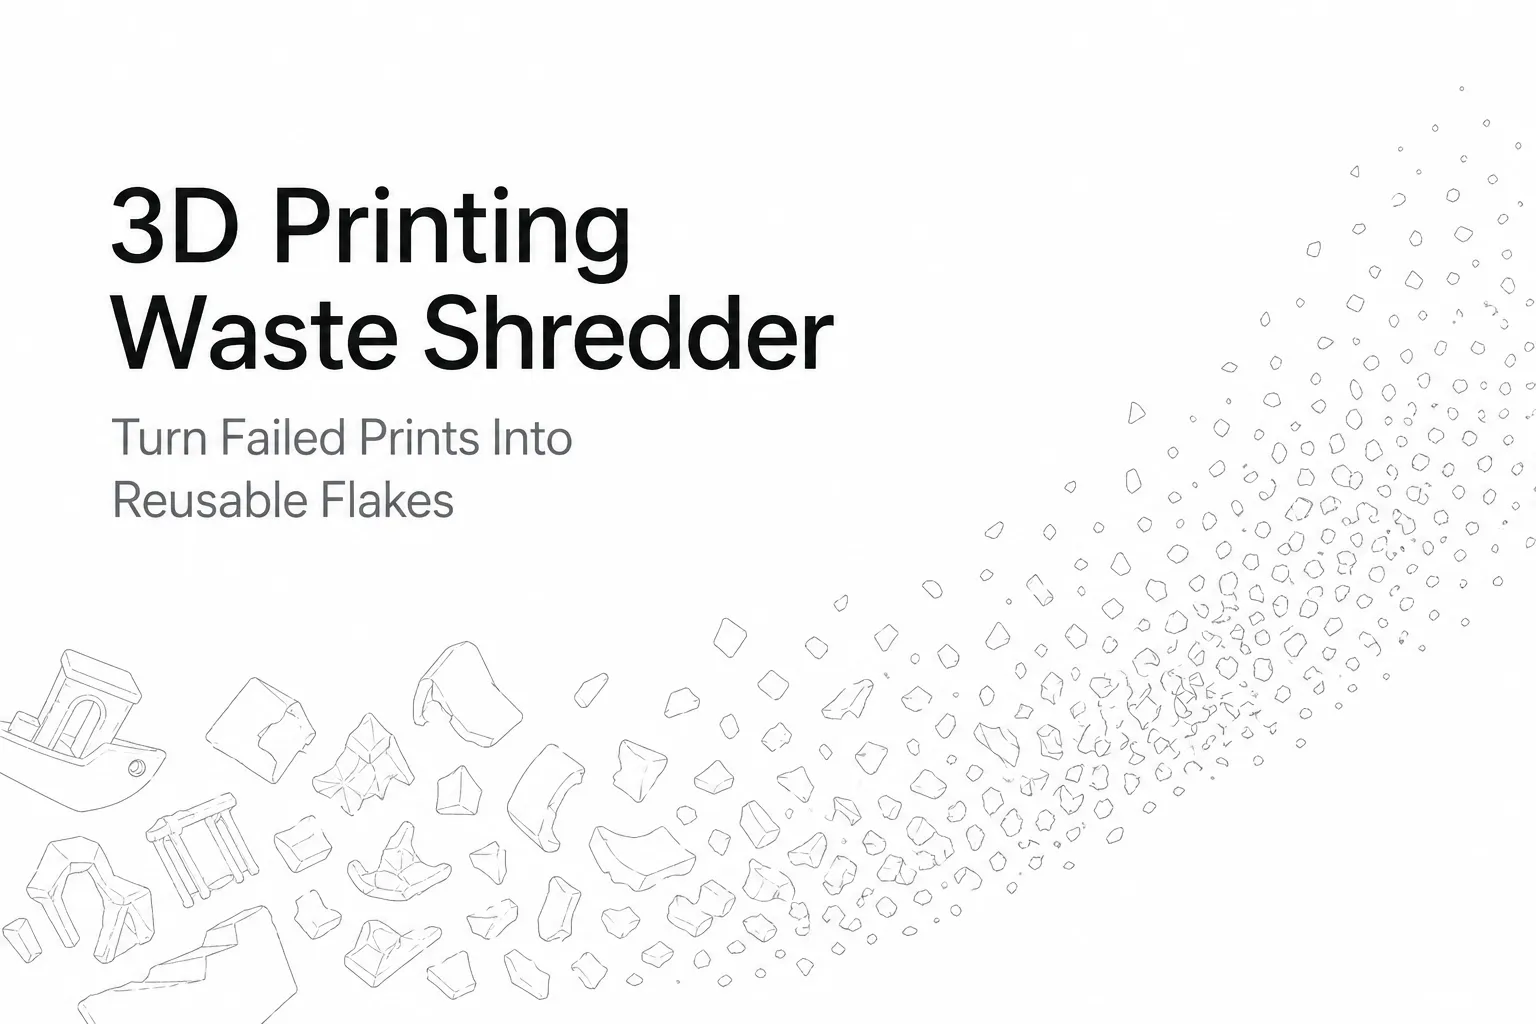
Every 3D printer generates waste — supports, brims, purge lines, and failed parts that pile up fast. A 3D printing waste shredder turns that bulky scrap into uniform flakes you can store, send to a recycler, or feed into a filament extruder.
This guide covers what to shred, how to avoid contamination, and what to look for in a desktop shredder for 3D printing waste.
Who This Is For (and Who Should Skip It)
- Good fit: makerspaces, classrooms, studios, and small labs that produce regular PLA/ABS/PETG scrap and want consistent flakes.
- Not a good fit: unknown plastics, mixed-material parts, or heavily abrasive composites (verify your shredder’s limits before processing fiber-filled materials).
Why Shredding 3D Printing Waste Matters
Shredding is the practical first step in any closed-loop workflow. Whole failed prints are bulky and inconsistent; flakes are easier to:
- Store and label by polymer/color
- Keep clean (less clutter around printers)
- Feed consistently if you later extrude filament
What Materials Can a 3D Printing Waste Shredder Handle?
Most desktop units can process common 3D printing thermoplastics, but each behaves differently:
| 材料 | Difficulty | 注記 |
|---|---|---|
| PLA | 簡単 | Brittle fracture → uniform flakes; minimal odor; best starting material |
| ABS | 適度 | Keep strictly separate from PLA; manage odor/ventilation as needed |
| PETG | 適度 | Can be shredded well; keep separate from PLA/ABS and from household PET streams |
| TPU | Harder | Flexible; feed slowly and watch for wrapping/jams |
| Nylon / Fiber-filled | 難しい | Abrasive; can exceed small desktop unit limits — verify before shredding |
Rule of thumb: If you cannot identify the filament type with confidence, do not add it to your batch. Mixed polymers can ruin downstream results.
Step-by-Step: How to Shred 3D Printing Waste (Clean, Consistent Flakes)
Step 1 — Sort by Polymer (and Color) First
Keep dedicated bins for each polymer type (PLA, ABS, PETG, etc.). If you plan to re-extrude, also sort by color to avoid muddy mixes.
Step 2 — Remove Contamination
Before the shredder, remove anything that is not clean plastic:
- Heat-set inserts, screws, magnets, nuts
- Tape/glue residue from build plates
- Foam, rubber, labels, or packaging bits
If parts are oily or dusty, wipe and fully dry them.
Step 3 — Pre-Break Large Parts
Desktop shredders have a practical size range. Cut or snap large failed prints into smaller chunks so they feed smoothly. Avoid long thin strips that can bridge the hopper and cause jams.
Step 4 — Shred for Consistency (Not Dust)
Your goal is uniform flakes, not powder. Over-shredding creates dust, increases cleanup, and can make feeding less stable for extrusion.
Step 5 — Label, Dry, and Store Like Raw Material
Treat flakes as feedstock:
- Store in sealed containers
- Label by polymer, brand, and color
- Use desiccant in humid environments
If you will extrude filament, drying matters. For PLA, many users dry flakes around 50–55 °C for several hours before extrusion to reduce moisture-related bubbles and weak prints.
DIY Shredder vs. Commercial Desktop Shredder
DIY shredders can work, but consistency and safety vary widely. A commercial desktop shredder is often the better choice when you need repeatable flakes in a shared workspace.
| 要素 | DIY Shredder | Commercial Desktop Shredder |
|---|---|---|
| Upfront cost | Lower (parts-based) | Higher |
| Time to get running | 10–40+ hours | Immediate |
| Output consistency | Variable | More repeatable |
| Safety features | Often minimal | Guarding + documented procedures |
| メンテナンス | Parts sourcing varies | Designed for access and cleaning |
The Closed-Loop Recycling Workflow (Maker-Scale)
- Collect — bin per polymer near your printer
- Inspect — remove metal/mixed materials
- Shred — create uniform flakes
- Condition — dry + store in labeled containers
- Reprocess — extrude filament or send flakes to a recycler
- Print again — prototypes and non-critical parts first
What to Look for in a Desktop Shredder for 3D Printing Waste
コンパクトなフットプリント
If it doesn’t fit your bench and routine, it won’t get used.
Low noise
For classrooms and studios, an enclosed cutting chamber and stable frame matter.
Practical safety design
Look for guarded feed openings, clear jam-clearing steps, and accessible maintenance panels. Wear eye protection and keep hands away from the feed opening.
Fast cleaning between batches
If you shred different polymers or colors, fast cleaning prevents cross-contamination.
Rumtoo Mini Desktop Small Shredder
If your goal is consistent flakes from failed prints and supports in a quiet, desktop-friendly setup, the Rumtoo Mini Desktop Small Shredder is built for makerspaces, classrooms, studios, and office labs.
Key reasons it fits 3D printing scrap workflows:
- Desktop-scale footprint for bench-top use
- Designed for repeatable, consistent flake output
- Maintenance-oriented design for faster cleaning between colors/materials
- Practical approach to safety and everyday operation
トラブルシューティング
Inconsistent flakes
Feed at a steady pace and pre-break large parts. Don’t mix rigid and flexible materials in the same run.
Material jams
Reduce piece size. Don’t force long, thin scraps through the inlet. Stop the machine completely before clearing any jam.
Excessive dust
Avoid over-shredding, and clean the chamber and surrounding area after each session.
Safety Checklist
- [ ] Wear eye protection
- [ ] Keep hands away from the feed opening
- [ ] Stop the machine completely before clearing jams
- [ ] Do not shred unknown or mixed materials
- [ ] Clean the work area after each session to prevent slipping on flakes
よくある質問
What is a 3D printing waste shredder?
A compact machine that cuts failed prints, supports, brims, and purge lines into flakes for storage, recycling, or re-extrusion.
Can I use a desktop shredder at home?
Yes—if you sort by polymer, remove contamination (especially metal), and store flakes properly.
What plastic is easiest to shred?
PLA is usually the easiest starting material because it fractures cleanly and is widely used.
What flake size should I target?
Aim for consistent flakes, not dust. Uniform feedstock matters more than minimum size.
Key Takeaways
- Sort by polymer 前に 細断
- Remove metal hardware and contamination first
- Target consistent flakes, not powder
- Dry and store flakes like raw material
- Keep one clean product link and minimize distractions for SEO focus
関連している: explore the ミニコンパクトシュレッダー, or read our プラスチックリサイクルシュレッダーライン.