


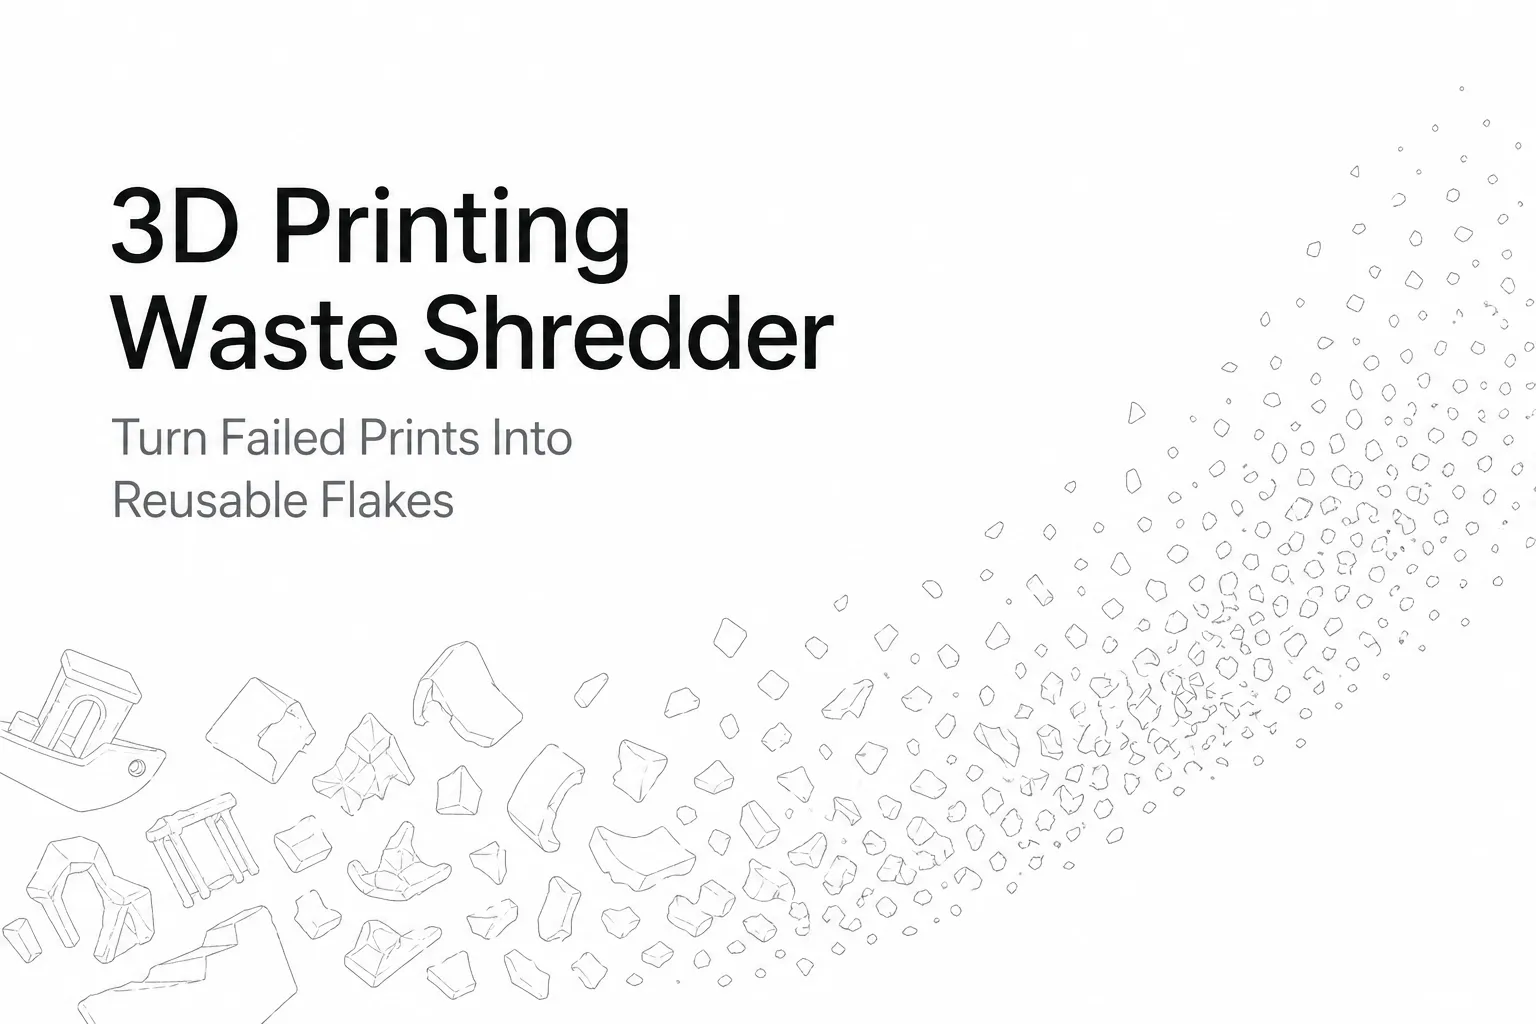
Every 3D printer generates waste — supports, brims, purge lines, and failed parts that pile up fast. A 3D printing waste shredder turns that bulky scrap into uniform flakes you can store, send to a recycler, or feed into a filament extruder.
This guide covers what to shred, how to avoid contamination, and what to look for in a desktop shredder for 3D printing waste.
Who This Is For (and Who Should Skip It)
- Good fit: makerspaces, classrooms, studios, and small labs that produce regular PLA/ABS/PETG scrap and want consistent flakes.
- Not a good fit: unknown plastics, mixed-material parts, or heavily abrasive composites (verify your shredder’s limits before processing fiber-filled materials).
Why Shredding 3D Printing Waste Matters
Shredding is the practical first step in any closed-loop workflow. Whole failed prints are bulky and inconsistent; flakes are easier to:
- Store and label by polymer/color
- Keep clean (less clutter around printers)
- Feed consistently if you later extrude filament
What Materials Can a 3D Printing Waste Shredder Handle?
Most desktop units can process common 3D printing thermoplastics, but each behaves differently:
| 재료 | Difficulty | 노트 |
|---|---|---|
| PLA | 쉬운 | Brittle fracture → uniform flakes; minimal odor; best starting material |
| ABS | 보통의 | Keep strictly separate from PLA; manage odor/ventilation as needed |
| PETG | 보통의 | Can be shredded well; keep separate from PLA/ABS and from household PET streams |
| TPU | Harder | Flexible; feed slowly and watch for wrapping/jams |
| Nylon / Fiber-filled | 딱딱한 | Abrasive; can exceed small desktop unit limits — verify before shredding |
Rule of thumb: If you cannot identify the filament type with confidence, do not add it to your batch. Mixed polymers can ruin downstream results.
Step-by-Step: How to Shred 3D Printing Waste (Clean, Consistent Flakes)
Step 1 — Sort by Polymer (and Color) First
Keep dedicated bins for each polymer type (PLA, ABS, PETG, etc.). If you plan to re-extrude, also sort by color to avoid muddy mixes.
Step 2 — Remove Contamination
Before the shredder, remove anything that is not clean plastic:
- Heat-set inserts, screws, magnets, nuts
- Tape/glue residue from build plates
- Foam, rubber, labels, or packaging bits
If parts are oily or dusty, wipe and fully dry them.
Step 3 — Pre-Break Large Parts
Desktop shredders have a practical size range. Cut or snap large failed prints into smaller chunks so they feed smoothly. Avoid long thin strips that can bridge the hopper and cause jams.
Step 4 — Shred for Consistency (Not Dust)
Your goal is uniform flakes, not powder. Over-shredding creates dust, increases cleanup, and can make feeding less stable for extrusion.
Step 5 — Label, Dry, and Store Like Raw Material
Treat flakes as feedstock:
- Store in sealed containers
- Label by polymer, brand, and color
- Use desiccant in humid environments
If you will extrude filament, drying matters. For PLA, many users dry flakes around 50–55 °C for several hours before extrusion to reduce moisture-related bubbles and weak prints.
DIY Shredder vs. Commercial Desktop Shredder
DIY shredders can work, but consistency and safety vary widely. A commercial desktop shredder is often the better choice when you need repeatable flakes in a shared workspace.
| 요인 | DIY Shredder | Commercial Desktop Shredder |
|---|---|---|
| Upfront cost | Lower (parts-based) | Higher |
| Time to get running | 10–40+ hours | Immediate |
| Output consistency | Variable | More repeatable |
| Safety features | Often minimal | Guarding + documented procedures |
| 유지 | Parts sourcing varies | Designed for access and cleaning |
The Closed-Loop Recycling Workflow (Maker-Scale)
- Collect — bin per polymer near your printer
- Inspect — remove metal/mixed materials
- Shred — create uniform flakes
- Condition — dry + store in labeled containers
- Reprocess — extrude filament or send flakes to a recycler
- Print again — prototypes and non-critical parts first
What to Look for in a Desktop Shredder for 3D Printing Waste
컴팩트한 크기
If it doesn’t fit your bench and routine, it won’t get used.
Low noise
교실과 스튜디오용으로, 닫힌 캔터블과 안정된 프레임이 중요합니다.
실용적인 안전 설계
보호된 피드 오픈링, 명확한 막힘 해소 단계, 유지보수 패널이 쉽게 접근할 수 있도록 합니다. 눈 보호구를 착용하고 피드 오픈링에서 손을 떼어야 합니다.
봉합 간 빠른 청소
다른 포리머나 색상을 써서 쪼개면 빠른 청소로 심각한 오염을 방지할 수 있습니다.
Rumtoo 미니 데스크톱 소형 쪼개기
균일한 파편을 만들고 조용한 데스크톱 환경에서 실패한 인쇄물과 지지대를 쪼개는 목표가 있다면, Rumtoo 미니 데스크톱 소형 쪼개기 제작 공간, 교실, 스튜디오, 사무실 연구실에 적합하게 제작되었습니다.
3D 프린팅 스크랩 워크플로우에 적합한 주요 이유:
- 데스크톱 규모의 바ench-top 사용
- 반복적이고 일관된 파편 출력을 위해 설계되었습니다
- 색상/재료 간 빠른 청소를 위한 유지보수 중심 설계
- 안전하고 일상 운영에 대한 실용적인 접근 방식
문제 해결
불규칙한 파편
일관된 속도로 피드를 주고 큰 부분을 미리 깨뜨리세요. 같은 런에서 고정적인 재료와 유연한 재료를 혼합하지 마세요.
재료 막힘
부분 크기를 줄이고 긴 얇은 스크랩을 인레트에 강제로 넣지 마세요. 막힘을 해소하기 전에 기계를 완전히 멈추세요.
과도한 먼지
과도한 쪼개기를 피하고, 각 세션 후 캔터블과 주변 구역을 청소하세요.
안전 체크리스트
- [ ] 눈 보호구 착용
- [ ] 피드 오픈링에서 손을 떼어야 합니다
- [ ] 막힘을 해소하기 전에 기계를 완전히 멈추세요
- [ ] 알 수 없는 혼합 재료를 쪼개지 마세요
- [ ] 각 세션 후 작업 공간을 청소하여 파편에 미끄러지는 것을 방지하세요
자주하는 질문
3D 프린팅 폐기물 쪼개기는 무엇인가요?
접근하기 쉬운 기계로 실패한 인쇄물, 지지대, 브림, purge 라인을 파편으로 자르고 저장, 재활용, 재출판에 사용됩니다.
데스크톱 쪼개기를 집에서 사용할 수 있나요?
네—if you sort by polymer, remove contamination (especially metal), and store flakes properly.
쪼개기가 가장 쉬운 플라스틱은 무엇인가요?
PLA is usually the easiest starting material because it fractures cleanly and is widely used.
What flake size should I target?
Aim for consistent flakes, not dust. Uniform feedstock matters more than minimum size.
Key Takeaways
- Sort by polymer ~ 전에 파쇄
- Remove metal hardware and contamination first
- Target consistent flakes, not powder
- Dry and store flakes like raw material
- Keep one clean product link and minimize distractions for SEO focus
관련된: 탐색하십시오 미니 컴팩트 분쇄기, 또는 우리의 플라스틱 쇼더 라인.